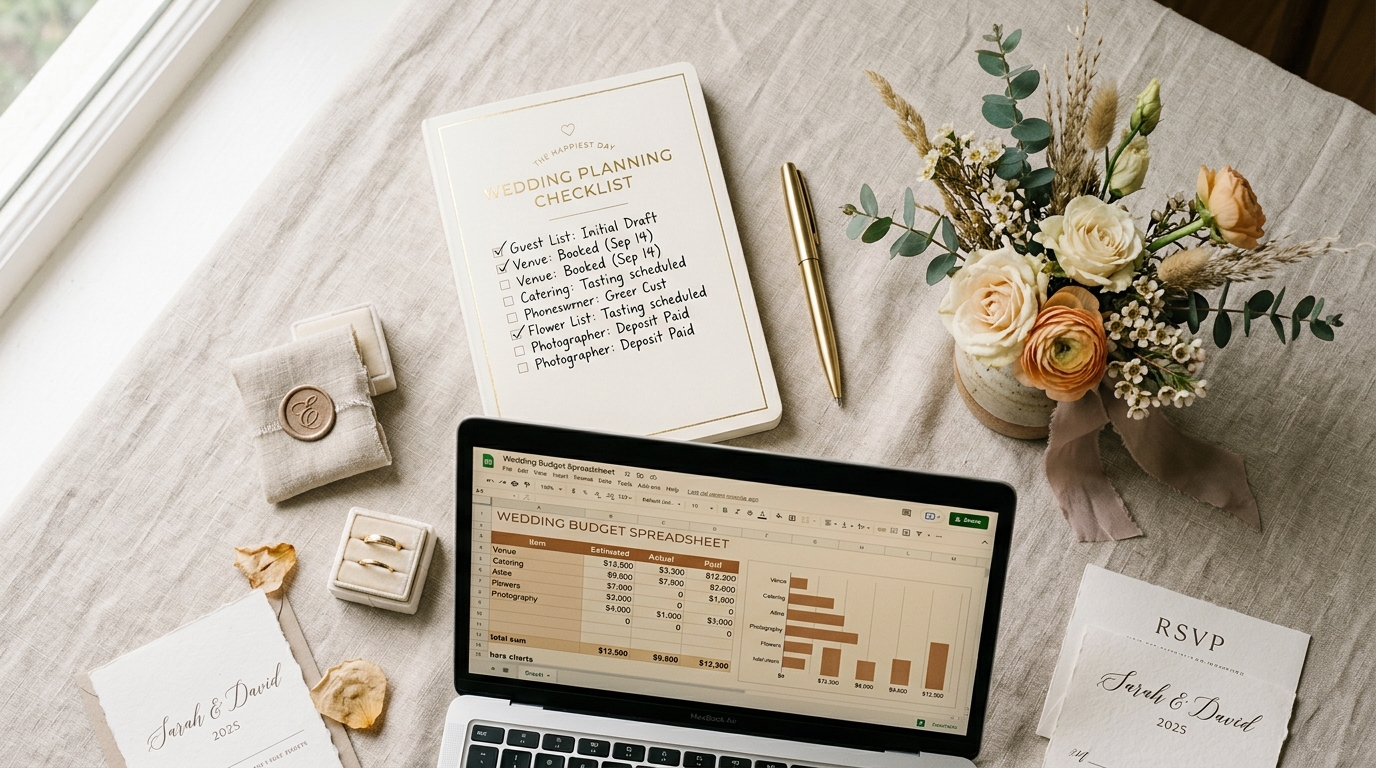
Each tip ties to a real task: setting a wedding budget, reading vendor contracts, building a guest list, working backward on your wedding planning timeline, and protecting your day-of schedule. Use them with a month-by-month wedding planning checklist, or pair them with free planning tools so advice turns into action. Whether you have eighteen months or three, these wedding planning tips give you a clear order of operations, so each decision gets made once and your planning stays calm.
What Are Wedding Planning Checklist Tips?
Wedding planning checklist tips are practical rules for using a checklist well: what to do first, what to put in writing, and where couples tend to lose time or money. A checklist tells you what needs doing. These tips tell you how to do it, in which order, and what usually goes wrong. If you have not built your list yet, start with our complete guide to wedding planning checklists and come back here for the advice behind each step.
The Three Tips That Matter Most
If you only act on three tips today, make them these. Set your budget before booking anything (tip 1). Get every quote and term in writing (tip 4). Build buffer time into your day-of schedule (tip 18). Together they prevent three of the most common sources of avoidable stress: overspending, contract surprises, and a wedding day that runs late.
Budget and Contract Tips (Tips 1-5)
Money and paperwork decide more than most couples expect. These five tips keep both under control before you commit to anything.

1. Set Your Budget Before You Tour Anything
Money shapes almost every other decision: the venues you can consider, how many guests you can invite, and which vendors fit. Tour a few venues first and you may fall for a place that quietly breaks your plan. Agree on a total, decide who is contributing, and write it down. Then split it by category with the wedding budget calculator, which shows where each part of the total goes. The budget-tier checklists on this site, from $10,000 up to $50,000+, show how a realistic spend breaks down at each level.
2. Rank Your Must-Haves and Nice-to-Haves
Not every line item deserves equal money. Pick the three things you and your partner care about most, whether that is the food, the photographer, or the music, and protect those. Everything else goes on a nice-to-have list, which is the first place to cut when a quote comes in higher than expected. This one list makes later decisions faster, because you stop debating and start checking. For ways to trim costs without gutting the day, see our wedding budget saving tips.
3. Keep a Cushion for Surprises
Quotes rarely cover everything. Overtime, extra chairs, alteration fees, a late guest addition, and service charges all tend to show up eventually. Hold back a cushion, commonly around 5 to 10 percent of the total as a rule of thumb, and treat it as money you have not yet assigned. Some couples also look into wedding insurance. Coverage differs a lot between policies, so read what is excluded, such as illness or weather, before assuming a deposit is protected.
4. Get Every Quote and Term in Writing
A verbal promise does not help anyone six months later. Before you pay a deposit, ask the vendor for a written quote and agreement that lists what is included, the hours covered, the payment schedule, and what happens if either side changes the plan. If something was settled on a phone call, send a short email confirming it. It feels formal, but it protects both sides and keeps your records in one place.
5. Read the Contract Clauses That Move Money
Contracts are boring until they matter. When you read one, look for the clauses that change what you pay or what you receive.
| Clause | What to confirm |
|---|---|
| Cancellation and refunds | What is refundable, what is not, and the deadlines |
| Overtime | The hourly rate and who approves extra time |
| Weather backup | The rain plan and who pays for tents or a move indoors |
| Substitutions | What happens if your photographer or DJ cannot attend |
| Taxes and service charges | Whether the quoted price already includes them |
| Final payment | The due date, accepted payment method, and who delivers it |
If a line is unclear, ask for it to be rewritten before you sign, not after.
Timeline and Organization Tips (Tips 6-10)
A plan only works if you can see it. These tips keep dates, tasks, and events in front of you.
6. Pick the Timeline That Matches Your Real Date
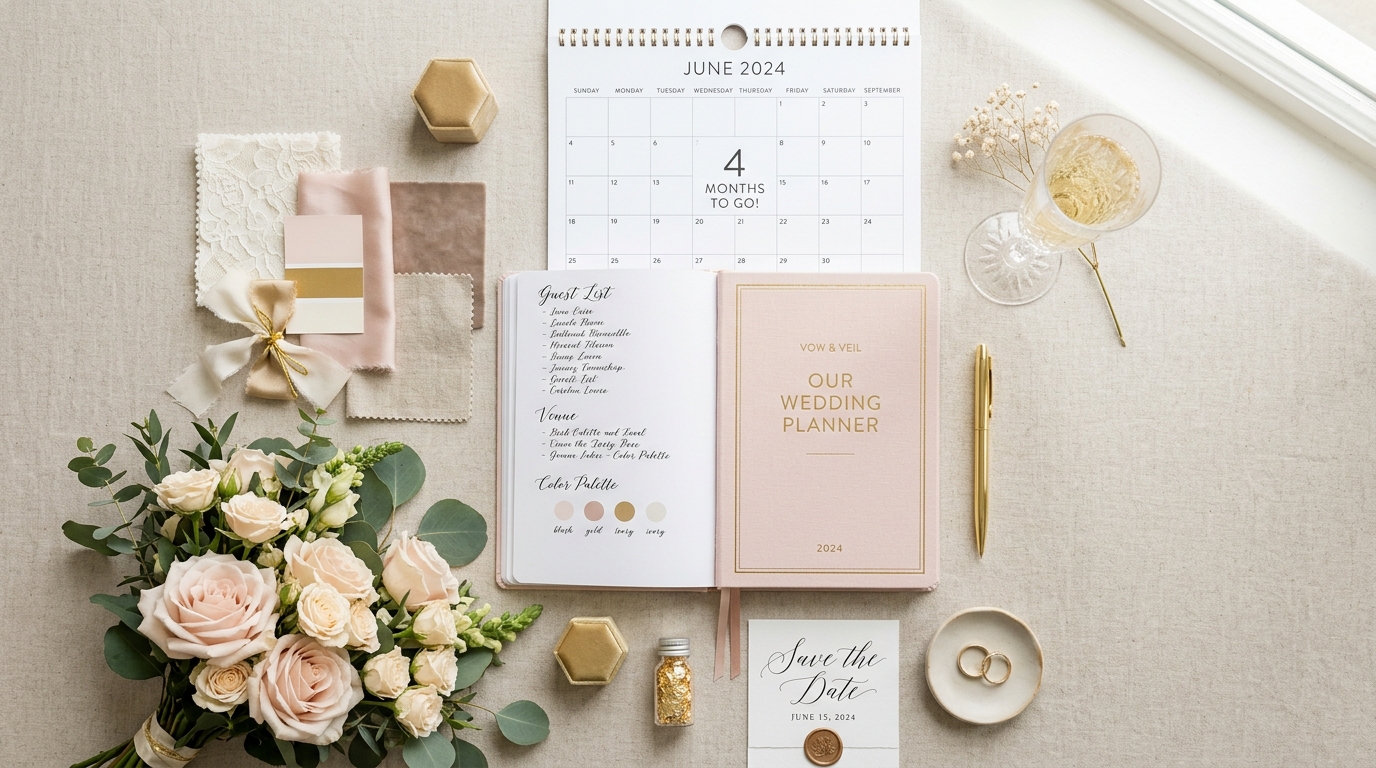
A fourteen-month timeline and a four-month timeline are different projects. With a long runway you can compare options and book popular vendors early. With a short one you triage: date, venue, and key vendors first, details later. Start from the 14-month wedding planning timeline if you have room to spare, or a shorter timeline built for a tight window, then shift the dates to match your calendar.
7. Work Backward From the Wedding Date
Put the wedding date at the end of the page and count back. Each milestone gets a due date, so tasks stop feeling like one giant blur. A wedding countdown helps by showing exactly how many weeks and Saturdays remain, which is far more useful than a vague feeling that there is plenty of time. Pair it with your timeline so every week has a small, specific goal.
8. Keep Everything in One Place
Screenshots in one app, notes in another, a spreadsheet nobody updates: that is how tasks slip. Choose one home for your tasks, budget, guests, and vendors. The wedding planning dashboard keeps those in a single view, and the wedding checklist generator builds a task list around your date and wedding type, so you are not starting from a blank page.
9. Hold a Weekly Planning Hour
Planning leaks into every conversation if you let it. Choose one hour each week, at the same time, with both partners present. Review what is due, decide what you can, send the emails, then stop. A weekly wedding planner gives that hour a structure. Outside it, wedding talk waits.
10. Plan Multi-Day Weddings as Separate Events
Pakistani, Indian, and other South Asian weddings often run across several days, for example a mehndi, a nikkah or ceremony, a barat or baraat, and a walima or reception. Each event has its own venue, guest count, outfit, and schedule. Treat each one as a mini checklist instead of squeezing everything into one long list. Our Pakistani and Muslim multi-day wedding checklist breaks the events out so nothing between the big days gets forgotten, and the same approach works for any multi-day celebration.
Guest, Venue, and Vendor Tips (Tips 11-15)
People and places drive most of the cost and most of the logistics. Get these right early.
11. Settle a Rough Guest Count Before Touring Venues
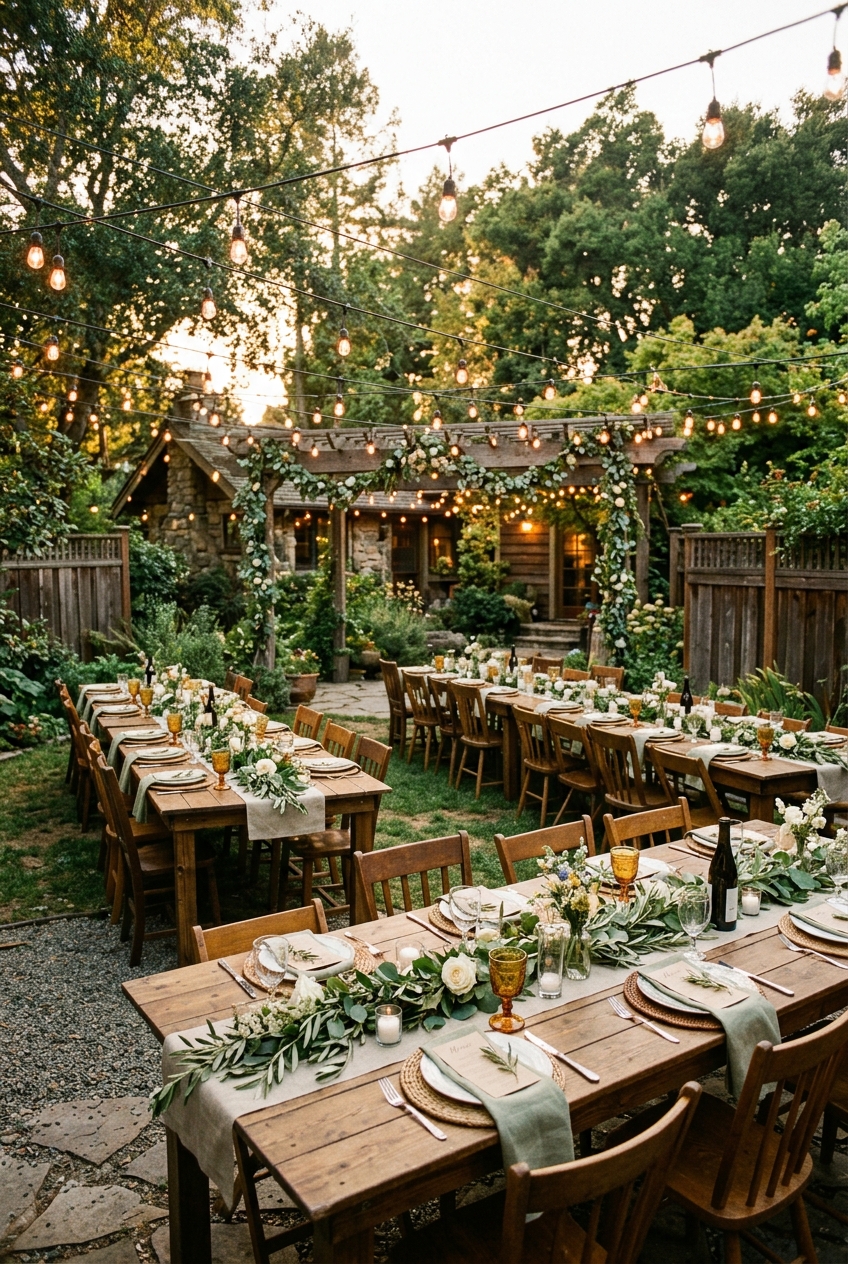
Capacity, catering, and price per head all depend on how many people are coming. Build a rough list before you tour, split it into must-invite and maybe, and check it against each room’s capacity. If your list is larger than the space, you find out before you fall in love with it. The guest list manager lets you track both groups, along with RSVPs and plus-ones, in one place.
12. Ask Venues the Questions That Change the Price
Two venues with the same headline price can cost very different amounts once you add what is missing. Ask every venue the same questions so you can compare them fairly:
- Is my date available, and are other events happening that day?
- What is included: tables, chairs, linens, setup, and cleanup?
- Are outside vendors allowed, or is there a required list?
- What is the music cutoff, and when must everyone leave?
- What is the backup plan for bad weather?
- When can vendors arrive to load in?
Write the answers down side by side. Our guide on how to choose the perfect wedding venue goes deeper on what to look for.
13. Book Vendors in Priority Order
Book the people whose calendars fill first. For most couples that means the venue and the photographer, followed by catering, music, florals, and hair and makeup. Photographers in particular tend to fill up early for weekend dates in busy seasons. Our vendor booking order and contract checklist lays out the sequence and what to confirm with each vendor.
14. Follow Up on Missing RSVPs
Guests forget. Set your RSVP deadline well before the caterer’s final headcount date, and plan to follow up. Call or text anyone who has not replied about five days after the deadline, and explain that catering numbers need to be final. Keep the tone friendly; most people simply lost the card. A running list of who has replied makes the follow-up round take minutes instead of an evening.
15. Feed Your Vendors
Your photographer, videographer, DJ, and coordinator are working for many hours. Add them to the catering headcount and ask the caterer about a proper hot meal rather than leftovers. Check each contract for vendor meal terms, since some vendors list a meal as a requirement. A fed vendor team stays sharp through the evening, which helps your photos and your schedule.
Attire and Style Tips (Tips 16-17)
Style decisions take longer than they seem to. Start them early and keep them focused.
16. Start Dress Shopping 9 to 12 Months Out
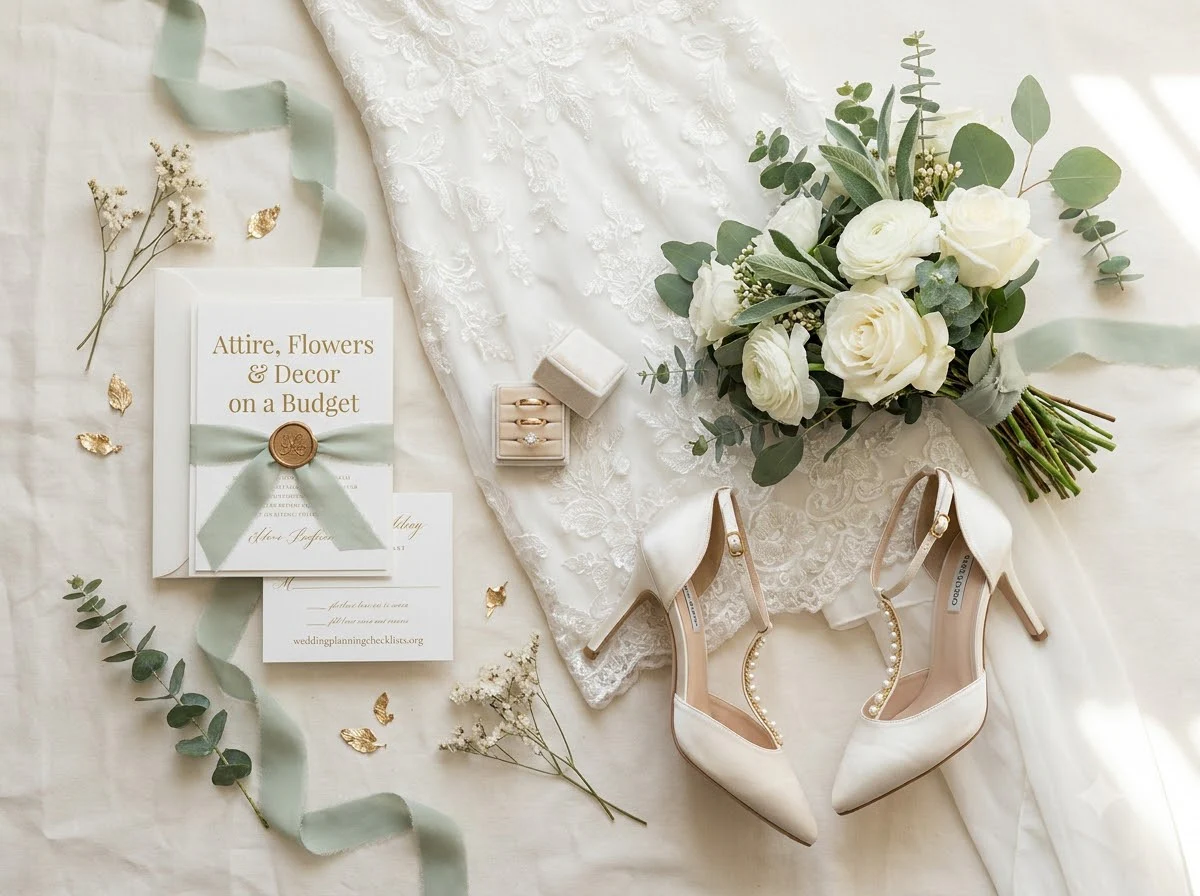
Made-to-order outfits can take months to arrive, and alterations often happen in more than one round. Starting nine to twelve months before the wedding leaves room for both. For ideas across styles and cultures, see our wedding outfits guide for brides, and remember that a multi-day wedding means planning more than one outfit.
17. Build One Moodboard and Name It in Three Words
Scattered inspiration leads to a wedding that feels mismatched. Create a separate board for each category, such as florals, attire, decor, and stationery, then choose three words that describe the overall look, for example warm, modern, and garden. Test every new idea against those words, and leave out whatever does not fit. Our wedding moodboard guide shows how to lay one out.
Day-Of and Couple Tips (Tips 18-20)
The last three tips protect the day itself, and the two people it is for.
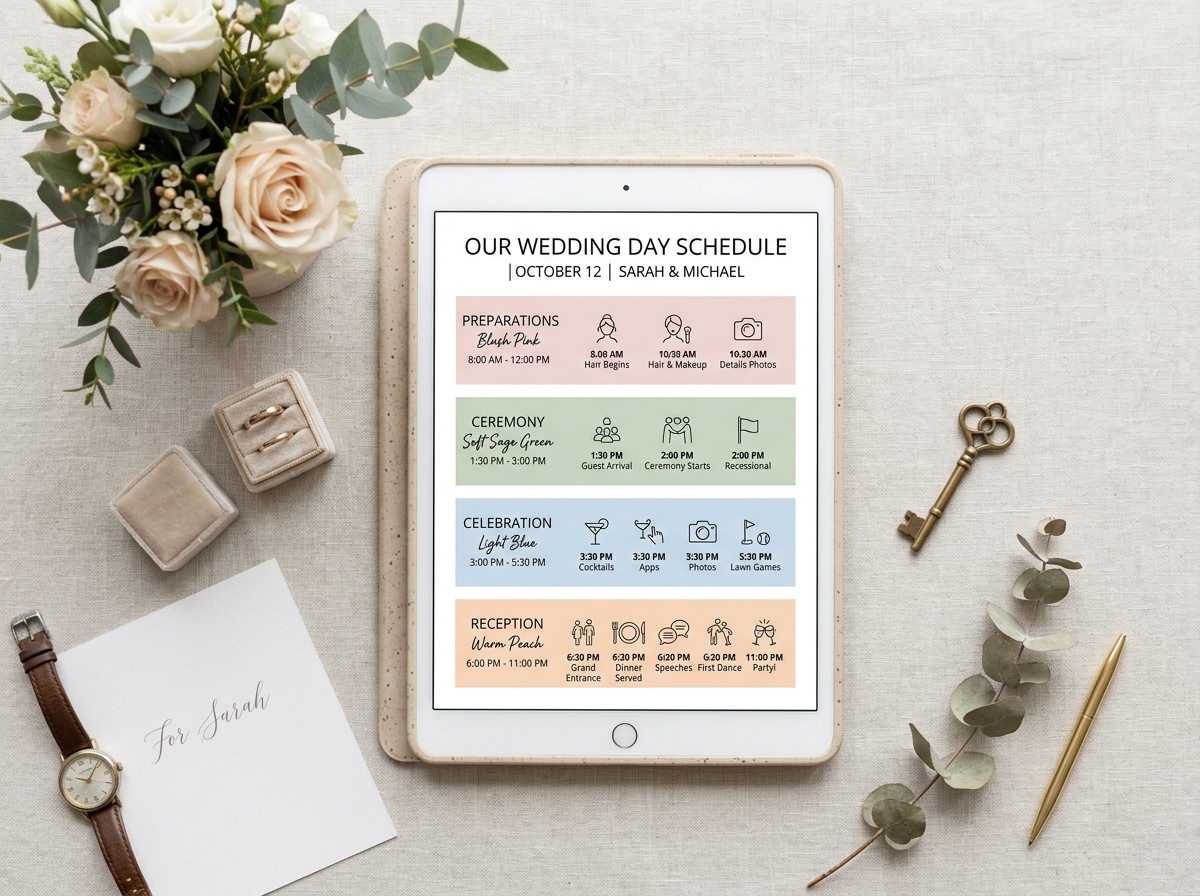
18. Add 15 Minutes of Buffer to Every Major Moment
Weddings rarely run exactly on schedule. Add a 15-minute buffer between getting ready, travel, and photo sessions, so one late hair appointment does not push back the entire evening. Build the schedule with the day-of timeline generator, and pack a small emergency kit for the surprises a buffer cannot absorb.
19. Give One Person the Final Payments and Vendor Questions
You should not be handling envelopes or answering the florist’s questions on the day. Name a trusted family member, friend, or coordinator as the vendors’ point of contact and as the person who handles final payments. Give vendors that name and number in advance, and give that person a one-page schedule with every vendor’s contact details.
20. Protect Your Time as a Couple
It is easy to let the wedding become the only topic in the relationship. Schedule date nights that are not about planning, and keep wedding talk to your weekly planning hour. You are planning a wedding to start a marriage, so protect the part that is just about the two of you.
Common Planning Mistakes and the Tip That Fixes Them
| Mistake | Better move | Tip |
|---|---|---|
| Touring venues before knowing the budget | Set a total and priorities first | 1-2 |
| Paying a deposit on a verbal quote | Get the agreement in writing | 4-5 |
| Tracking tasks across five different apps | Use one dashboard or checklist | 8 |
| Treating a multi-day wedding as one event | Give each event its own mini checklist | 10 |
| Chasing RSVPs the week before the caterer deadline | Follow up about five days after the RSVP date | 14 |
| Scheduling moments back to back | Add 15-minute buffers | 18 |