
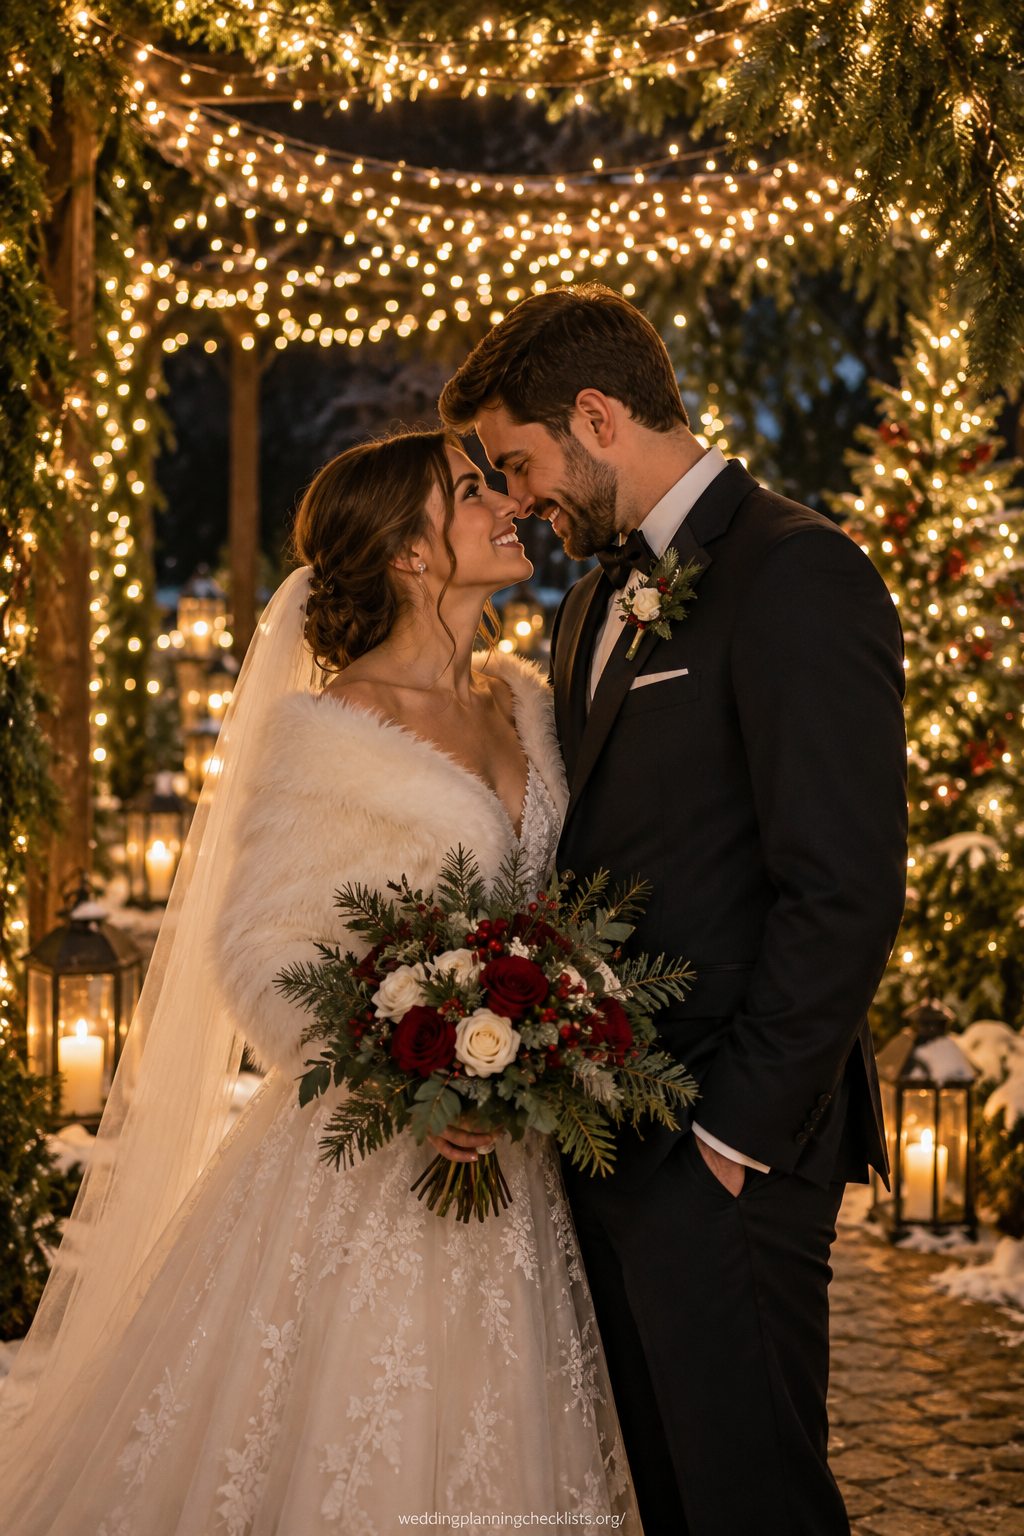
Fairy lights can add a soft glow to Christmas wedding photos, especially during evening portraits and the reception. Ask your photographer what will work with the venue’s actual lighting, and confirm that lights are installed safely. These ideas use the lights as part of the scene rather than relying on them to illuminate every photograph.
Couple portraits
1. Stand beneath a light canopy
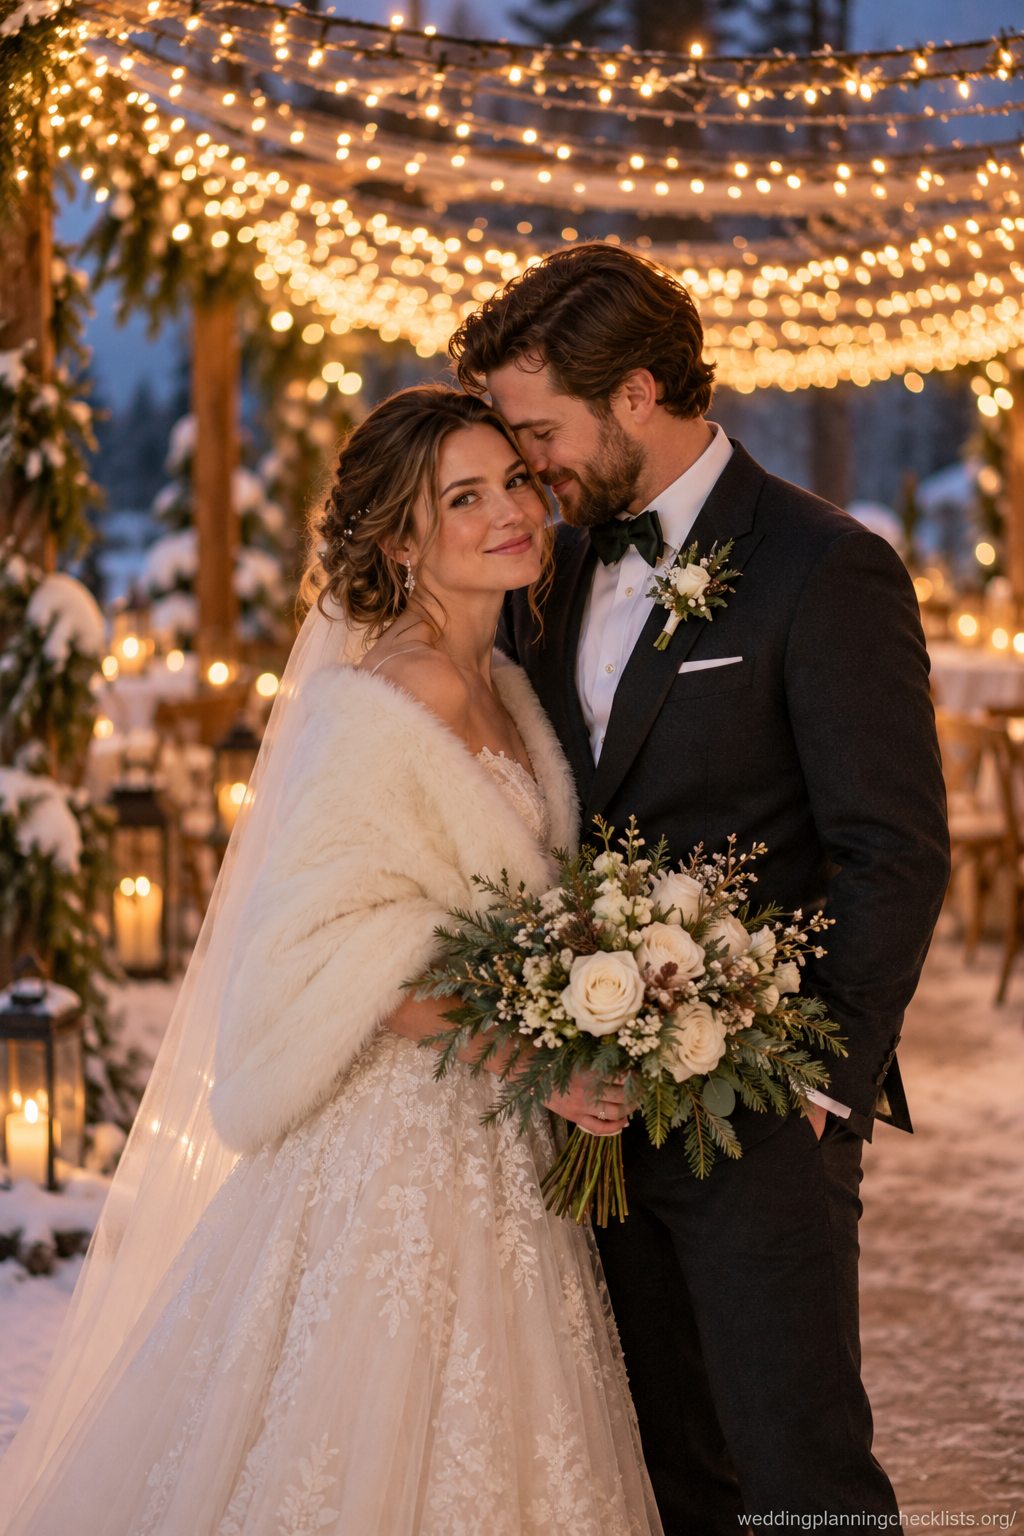 Stand beneath a venue-approved canopy of lights and face your partner rather than the camera. Ask the photographer to capture one wider frame that shows the setting and one close portrait. Check the ceiling height and keep enough space around your outfits so no one brushes against lights or hanging cables.
2. Walk along a lit path
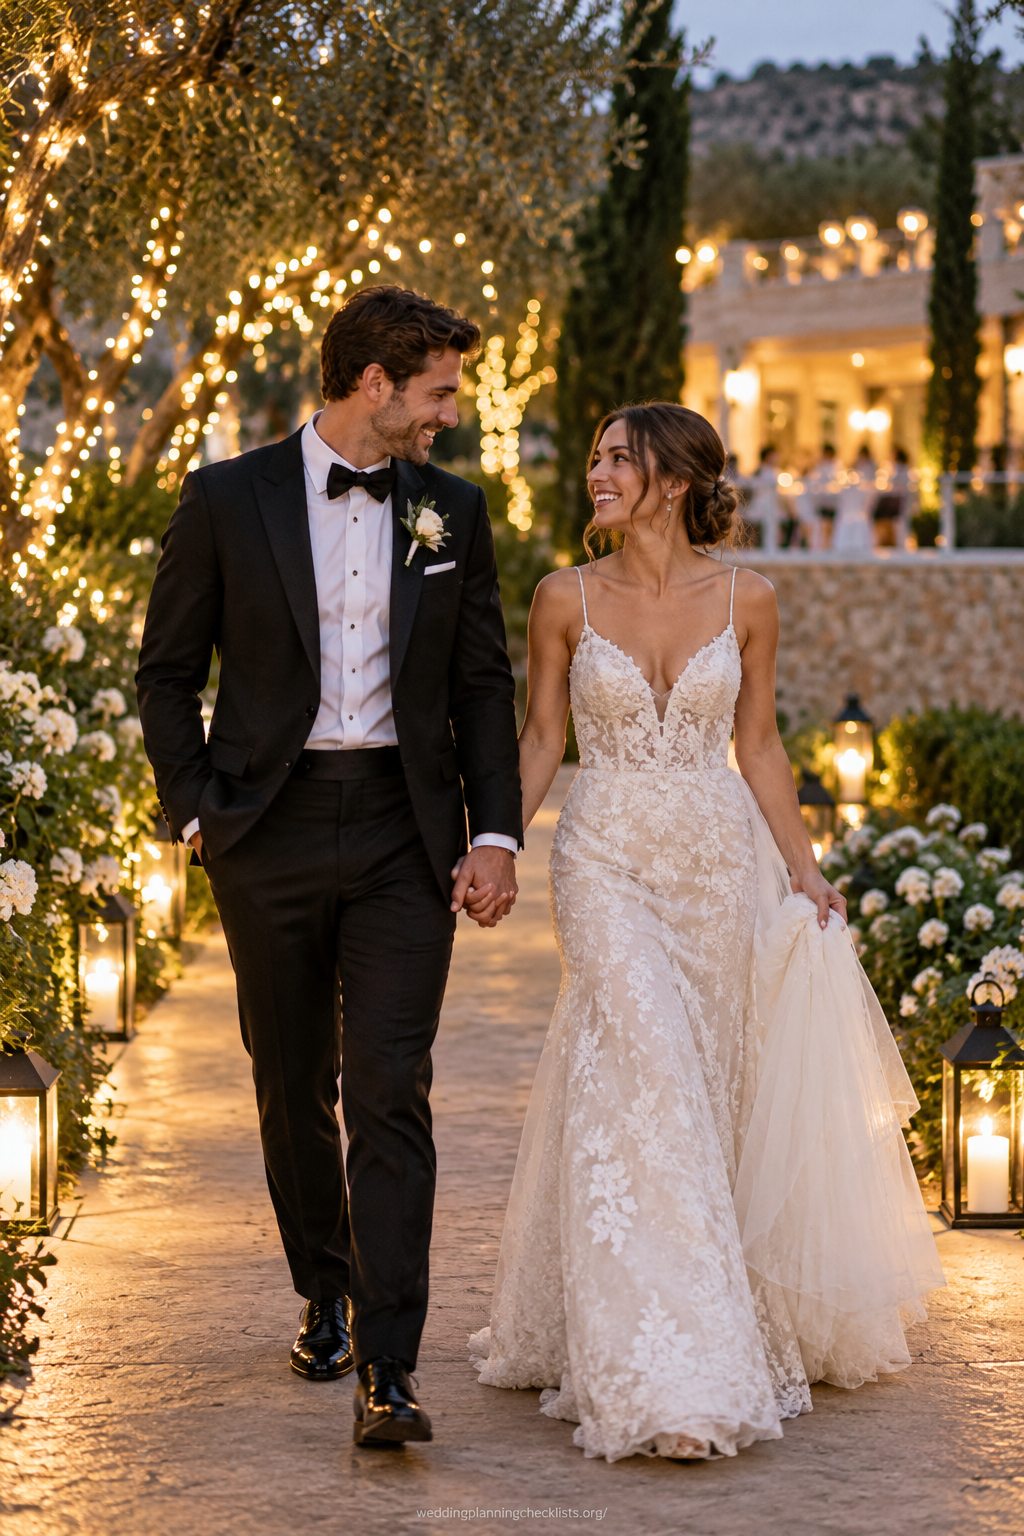 Walk slowly along a well-lit path while holding hands, and let the photographer capture you moving naturally. Check that the route is dry, clear, and away from cables or equipment. If the lights are outdoors, confirm that the venue has approved the fixtures for the location and weather. Ask for one wider frame to include the setting.
3. Share a quiet moment by the lights
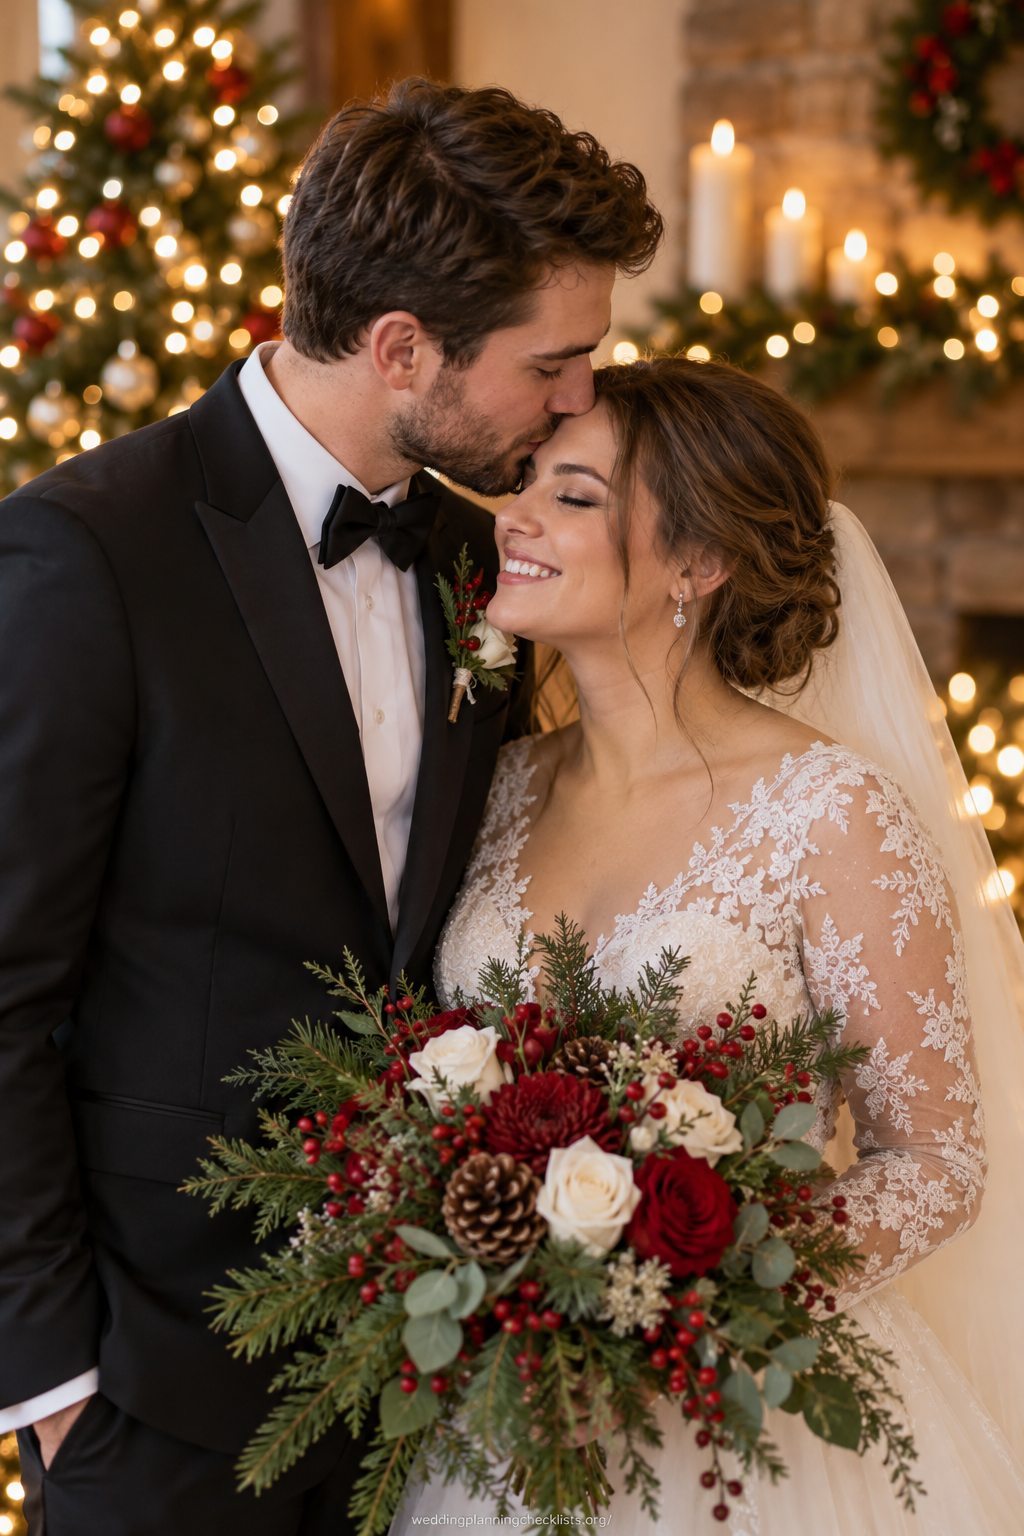 Pause near the lights and talk quietly, keeping your attention on each other. The lights can stay softly out of focus behind you while your faces remain clear. Ask the photographer to choose the distance and exposure so the bulbs create atmosphere without overpowering the expressions. Let the photographer capture the moment just afterward.
4. Use a doorway framed with lights
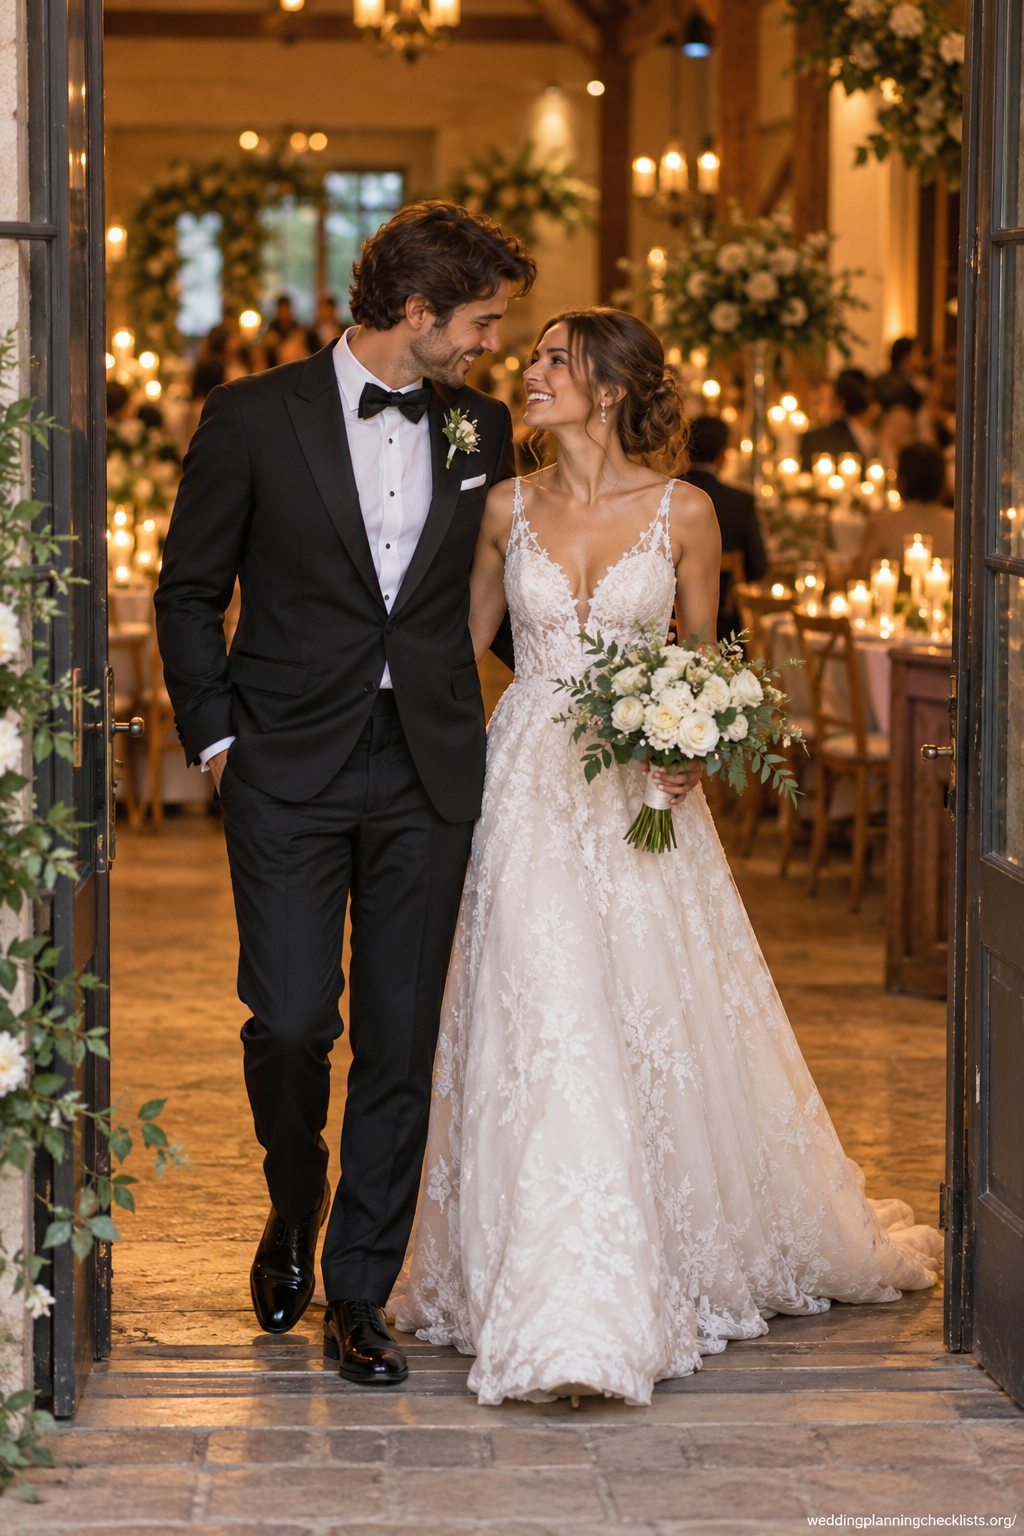 Stand just inside a doorway outlined with venue-approved lights and let the photographer frame the entrance around you. Check that the doorway stays clear for guests and does not serve as an emergency exit. A simple handhold or shared glance keeps the pose connected to the moment. Check the path and background before beginning the portrait.
5. Take a close portrait with lights behind
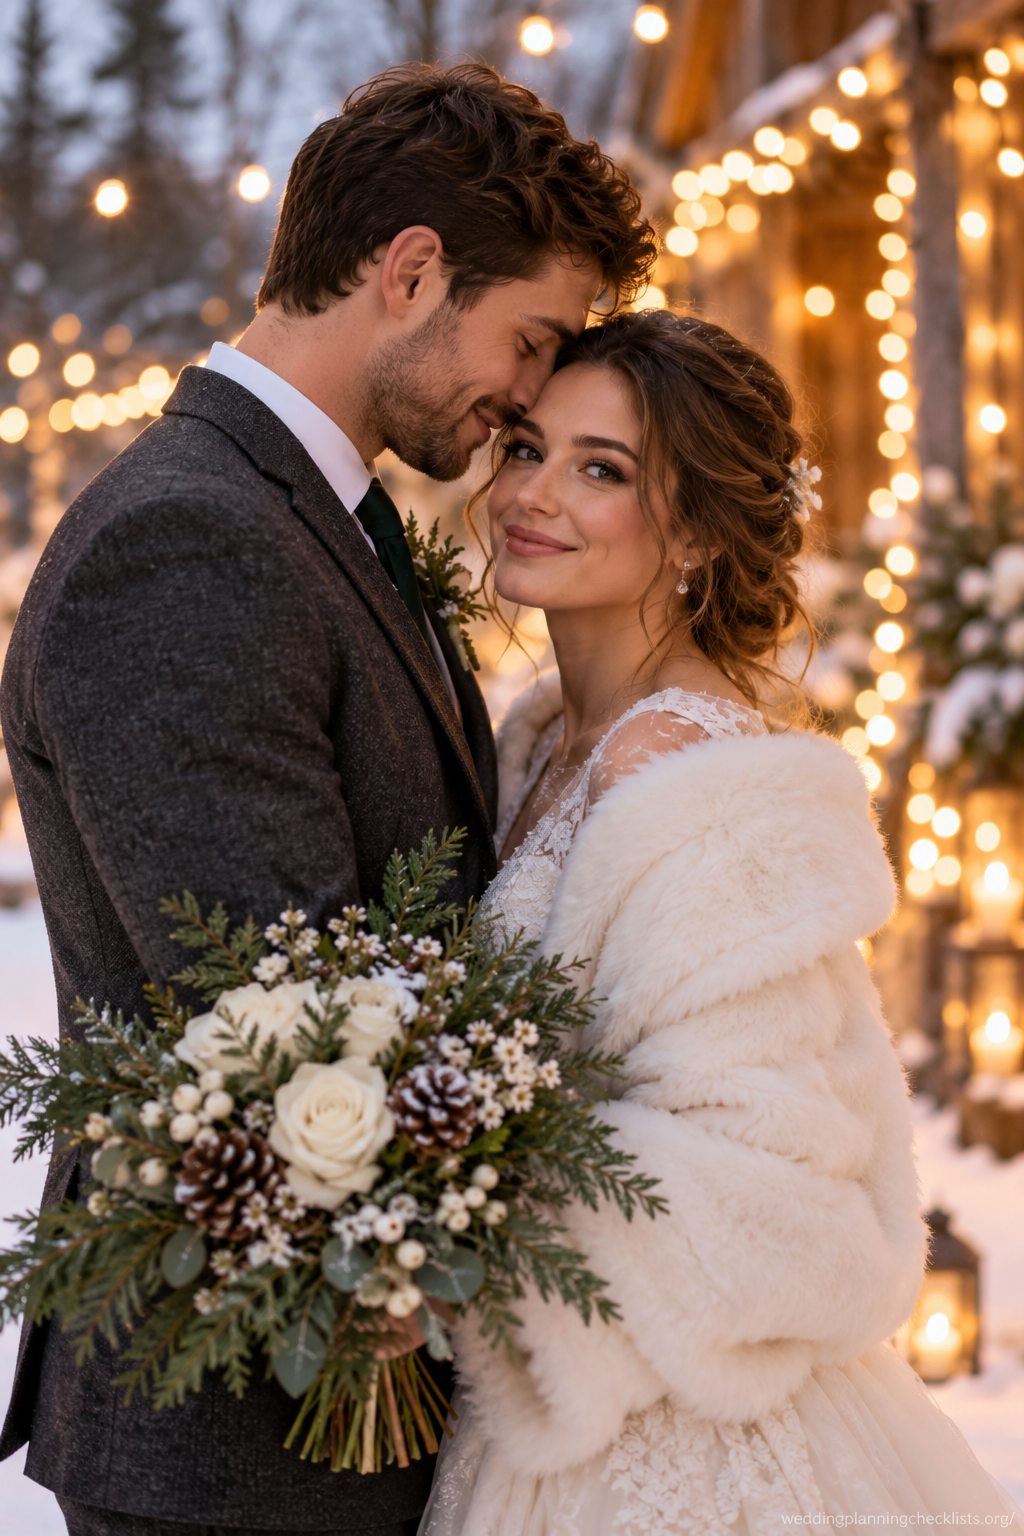 Stand a comfortable distance from the lights so they form a soft background rather than appearing directly beside your faces. This works well for a quiet portrait after the ceremony. Follow the photographer’s direction on where to stand, and do not touch or move electrical strands. A second angle can add useful variety to the gallery.
6. Capture a slow dance under the lights
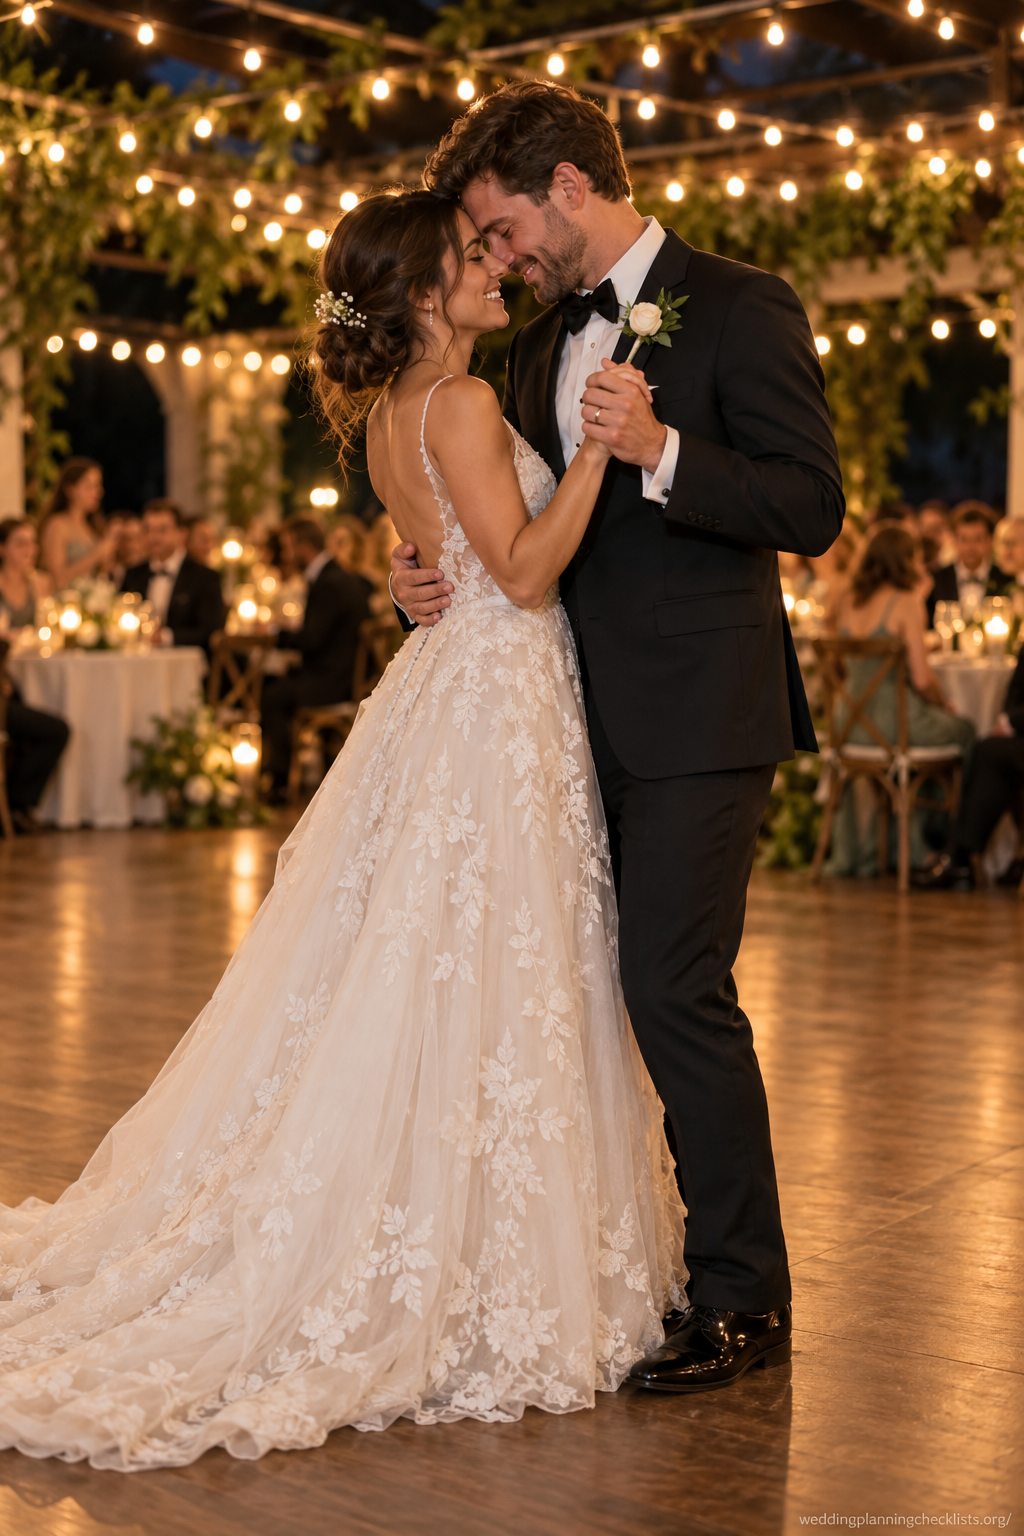 Take a slow turn together beneath the reception lights while the photographer captures the movement. Keep the dance step small and comfortable, especially if the floor is crowded or slippery. Plan the photo during a natural pause in the reception so it does not interrupt a scheduled dance or speech.
Wedding-party and guest photos
7. A group portrait beneath the canopy
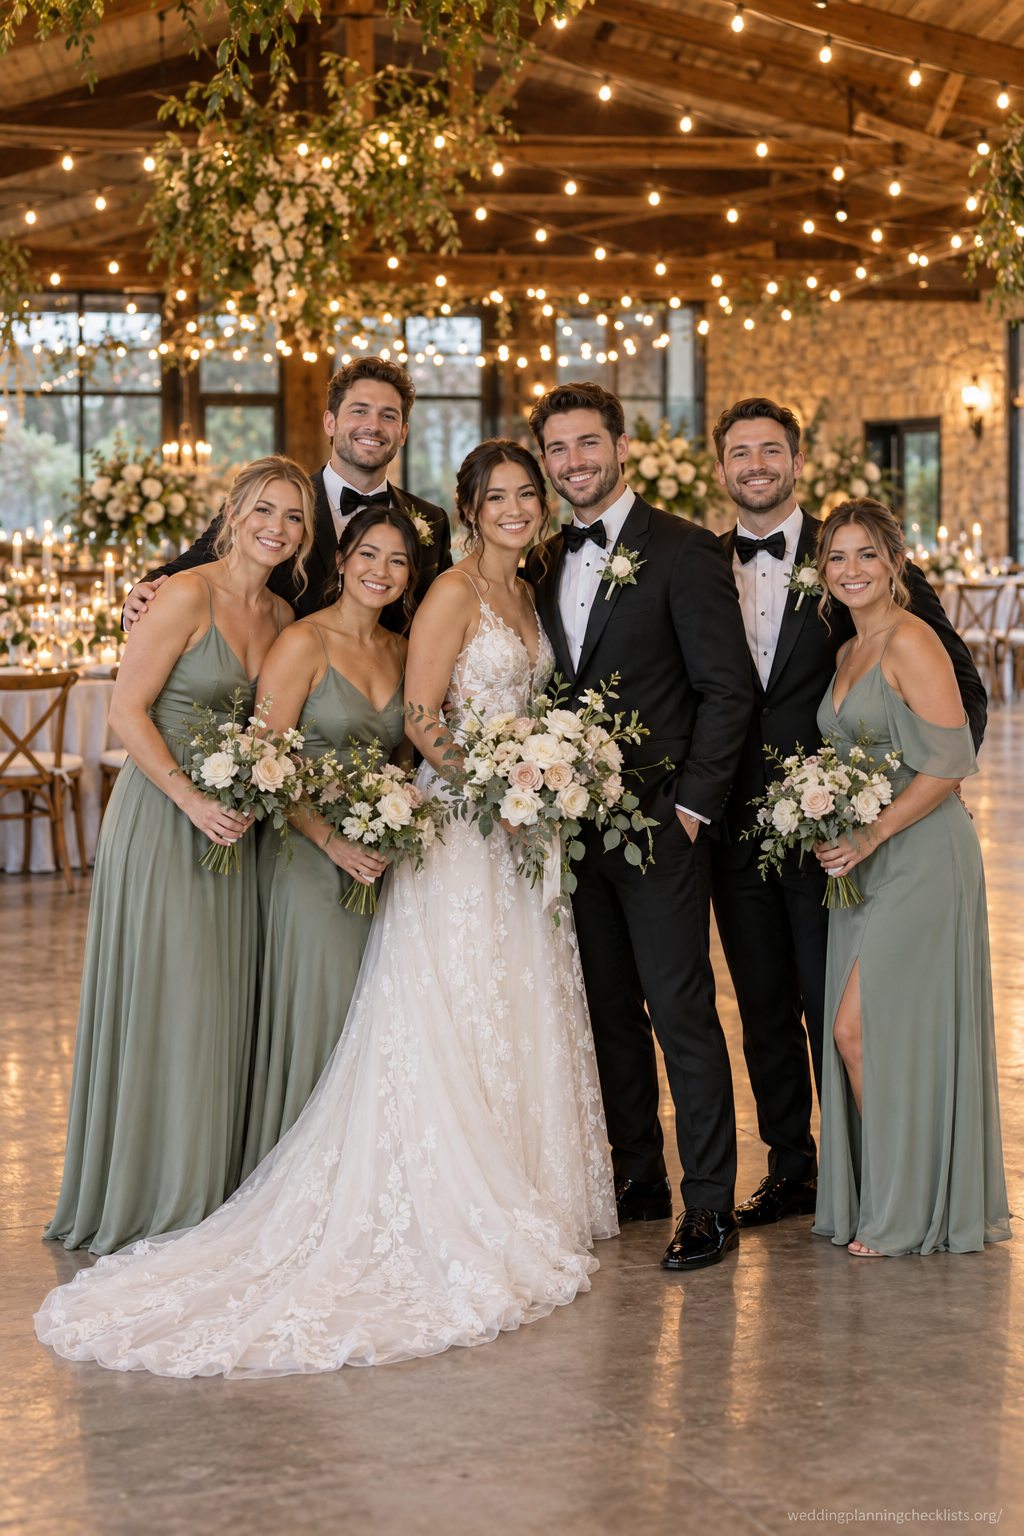 Arrange the wedding party beneath a canopy of lights, keeping every face visible and the group close enough for a clear frame. Take the portrait before the floor fills with guests. Check that no one stands directly beneath unsecured fixtures or cables, and use a comfortable arrangement. Keep the pose easy and comfortable to hold.
8. A wedding-party toast
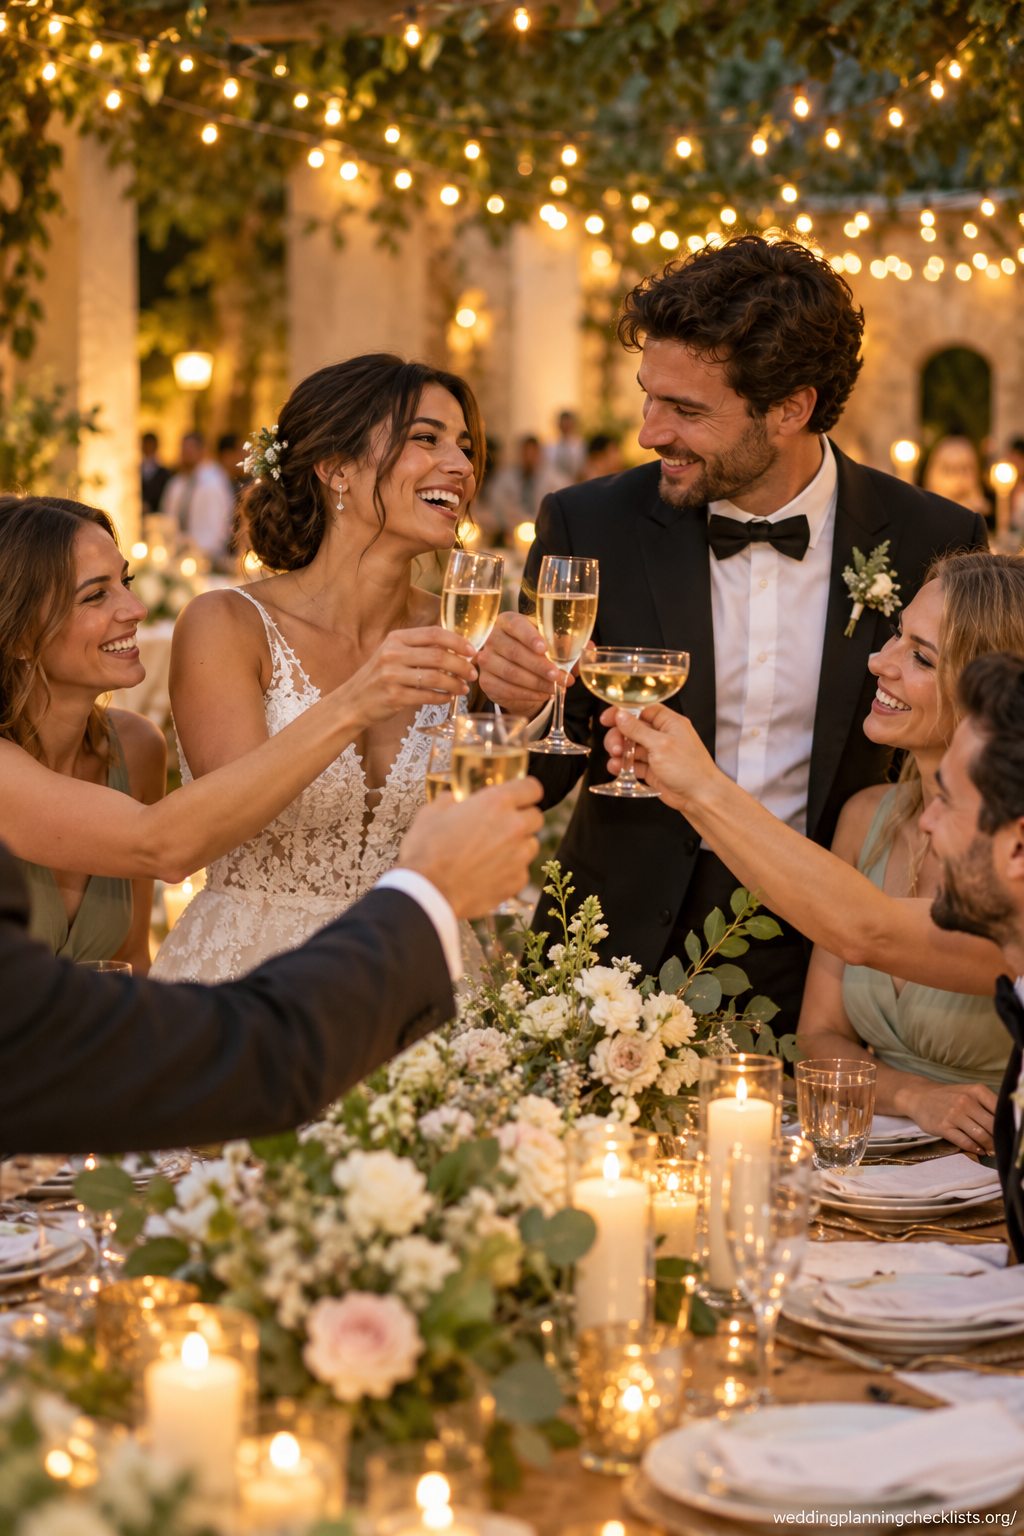 Invite the wedding party to raise a toast with the lights behind them. Keep glasses at a safe height and capture the reactions before and after the clink. Provide nonalcoholic drinks for anyone who wants them, and avoid placing drinks near electrical controls or cables. Ask for one wider frame to include the setting.
9. Guests greeting one another
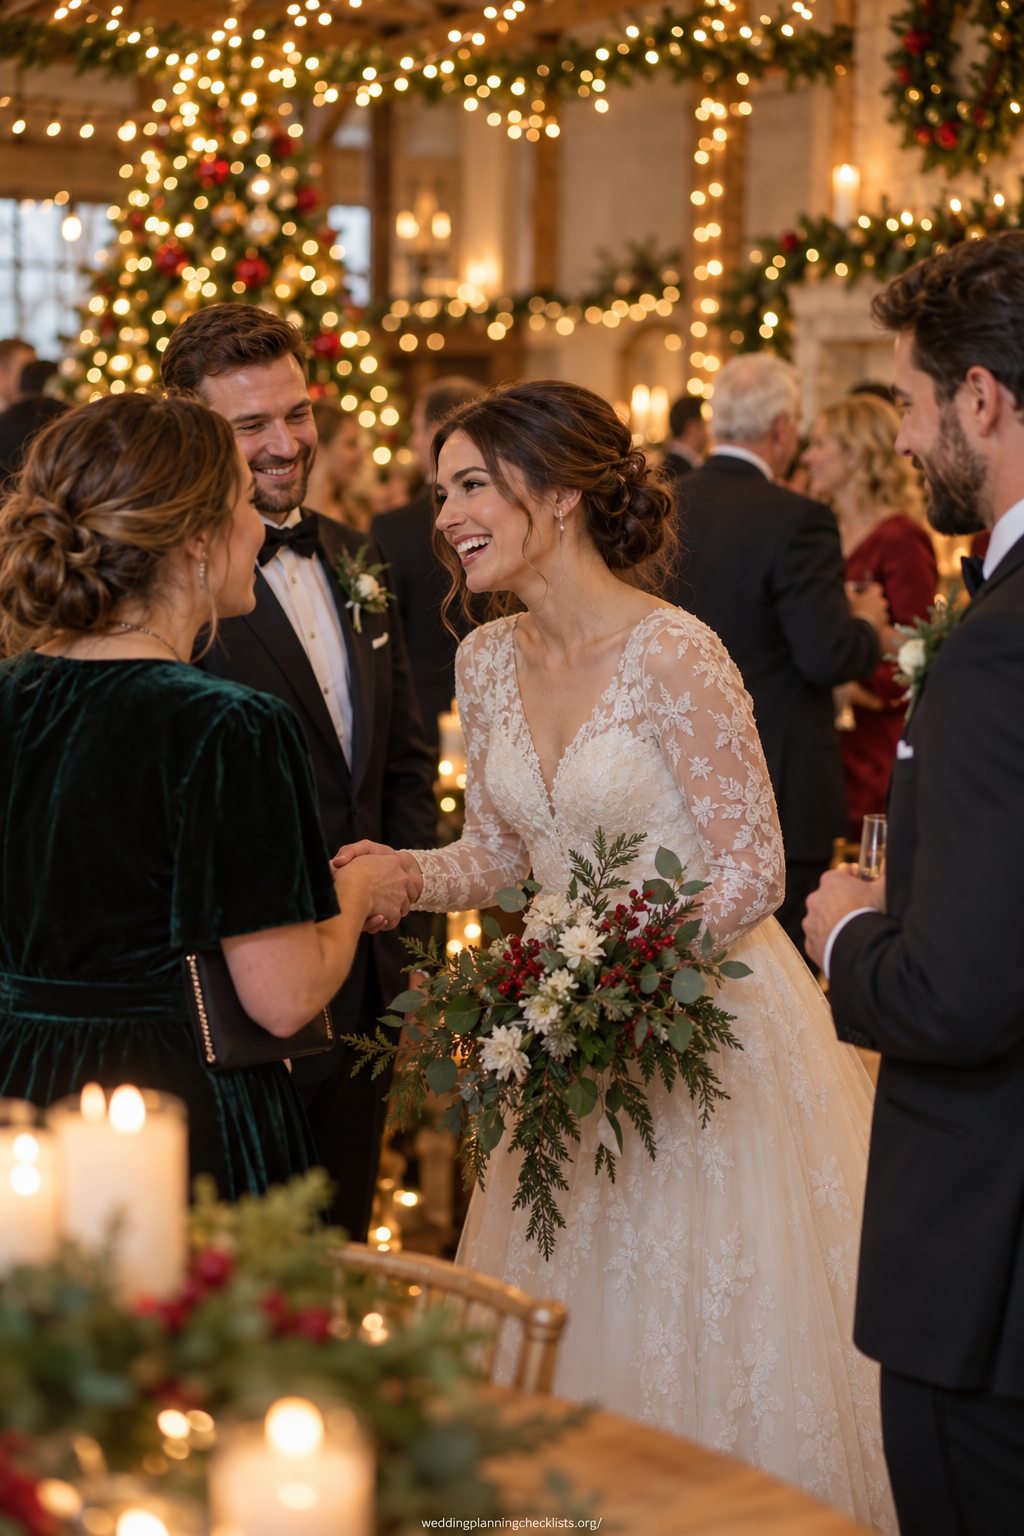 Photograph guests greeting friends or family near the lit reception area. A wide frame can show the overall atmosphere, while closer images can capture a few interactions. Respect privacy and avoid interrupting conversations; the goal is to document the reception as it naturally unfolds. Let the photographer capture the moment just afterward.
10. A family portrait near a lit tree
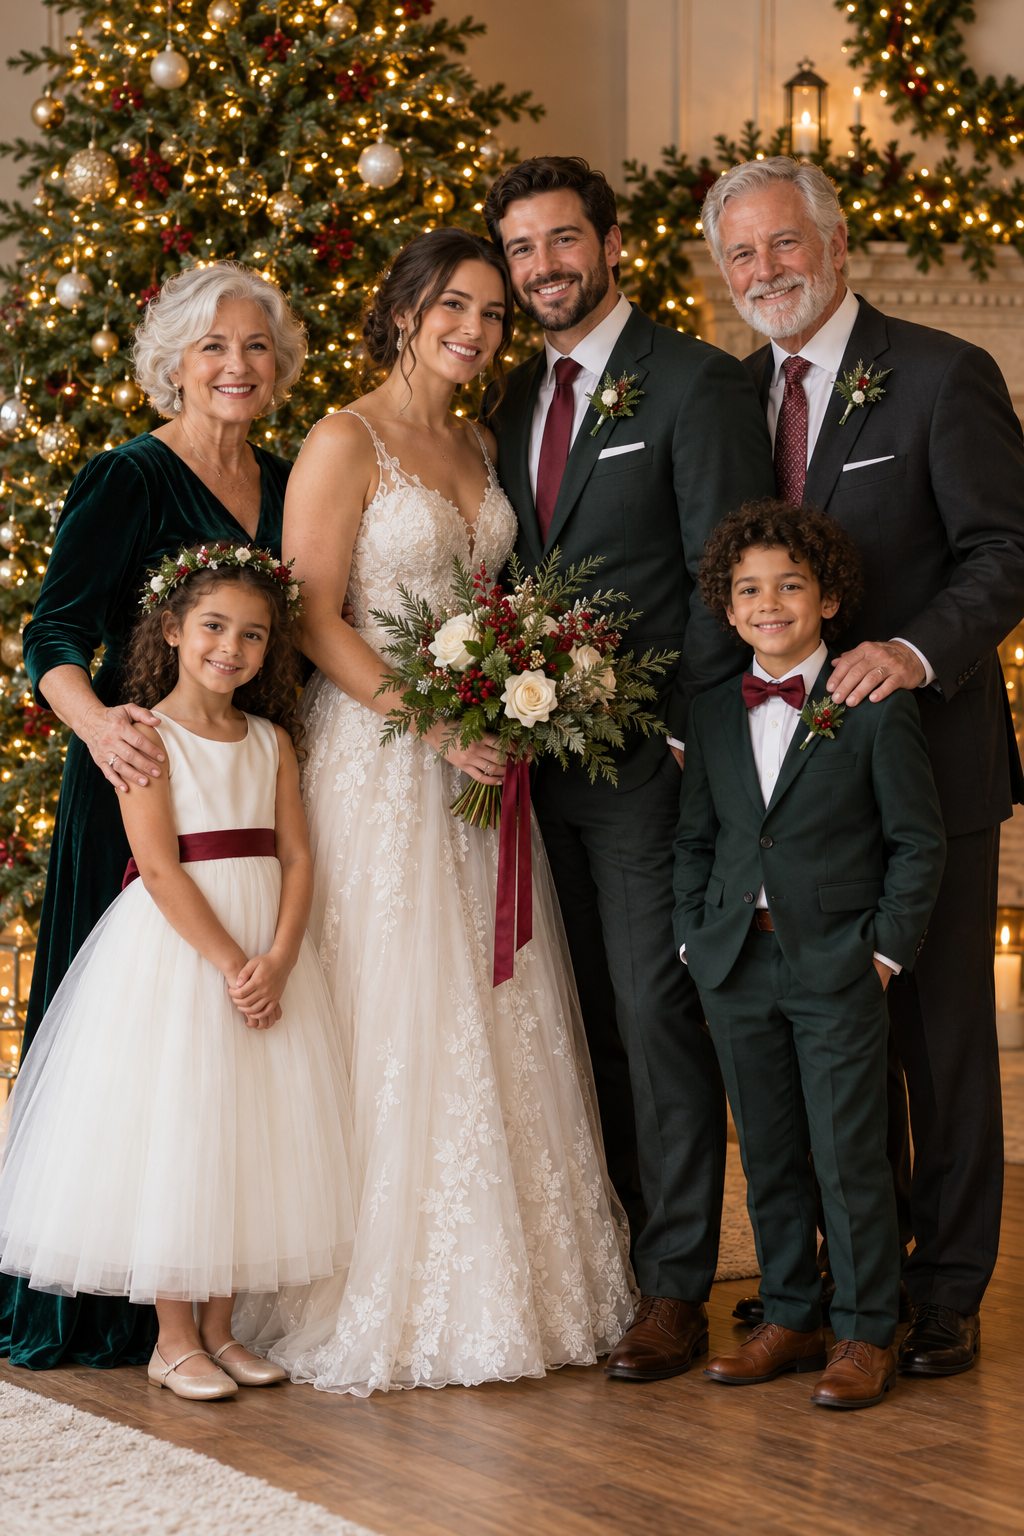 Gather one family group near the tree and lights, then take a few combinations while everyone is already together. Keep the group clear of cables and service routes, and choose a stable spot with enough room. Share names and priority groupings with the photographer beforehand. Check the path and background before beginning the portrait.
11. A dance-floor moment
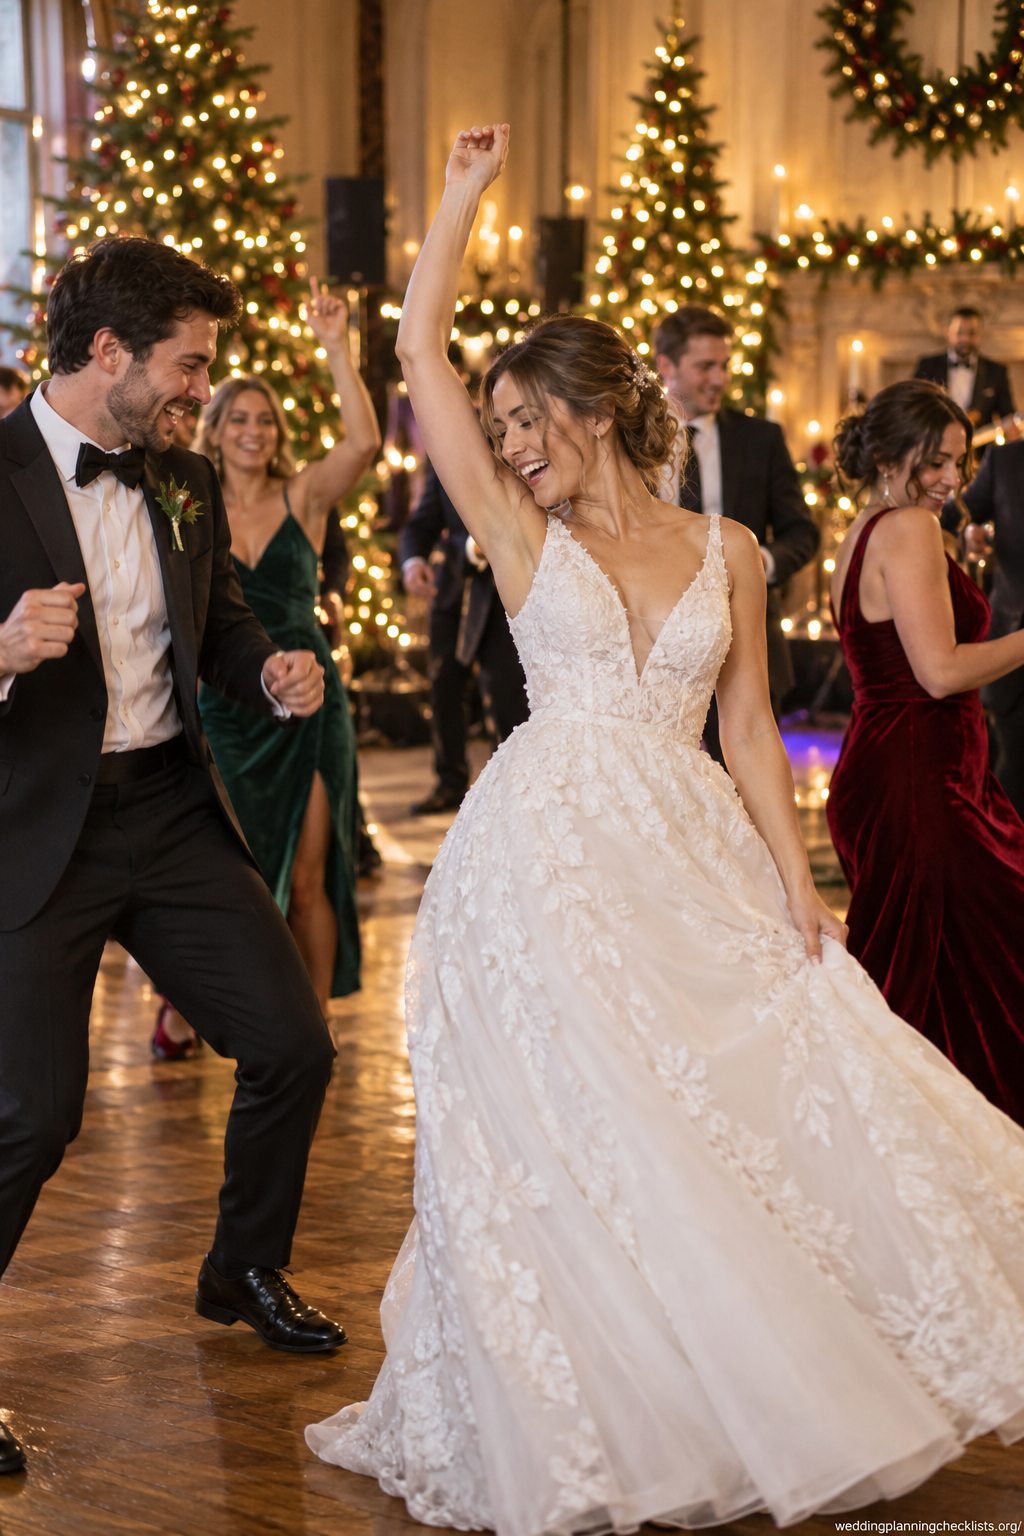 Capture guests dancing as the lights form a soft background. Ask the photographer to balance ambient lighting with clear faces, and keep any decorative strands high and secured. Photograph from the edge of the dance floor so guests have room to move naturally. A second angle can add useful variety to the gallery.
Decor and details
12. A wide room view before guests enter
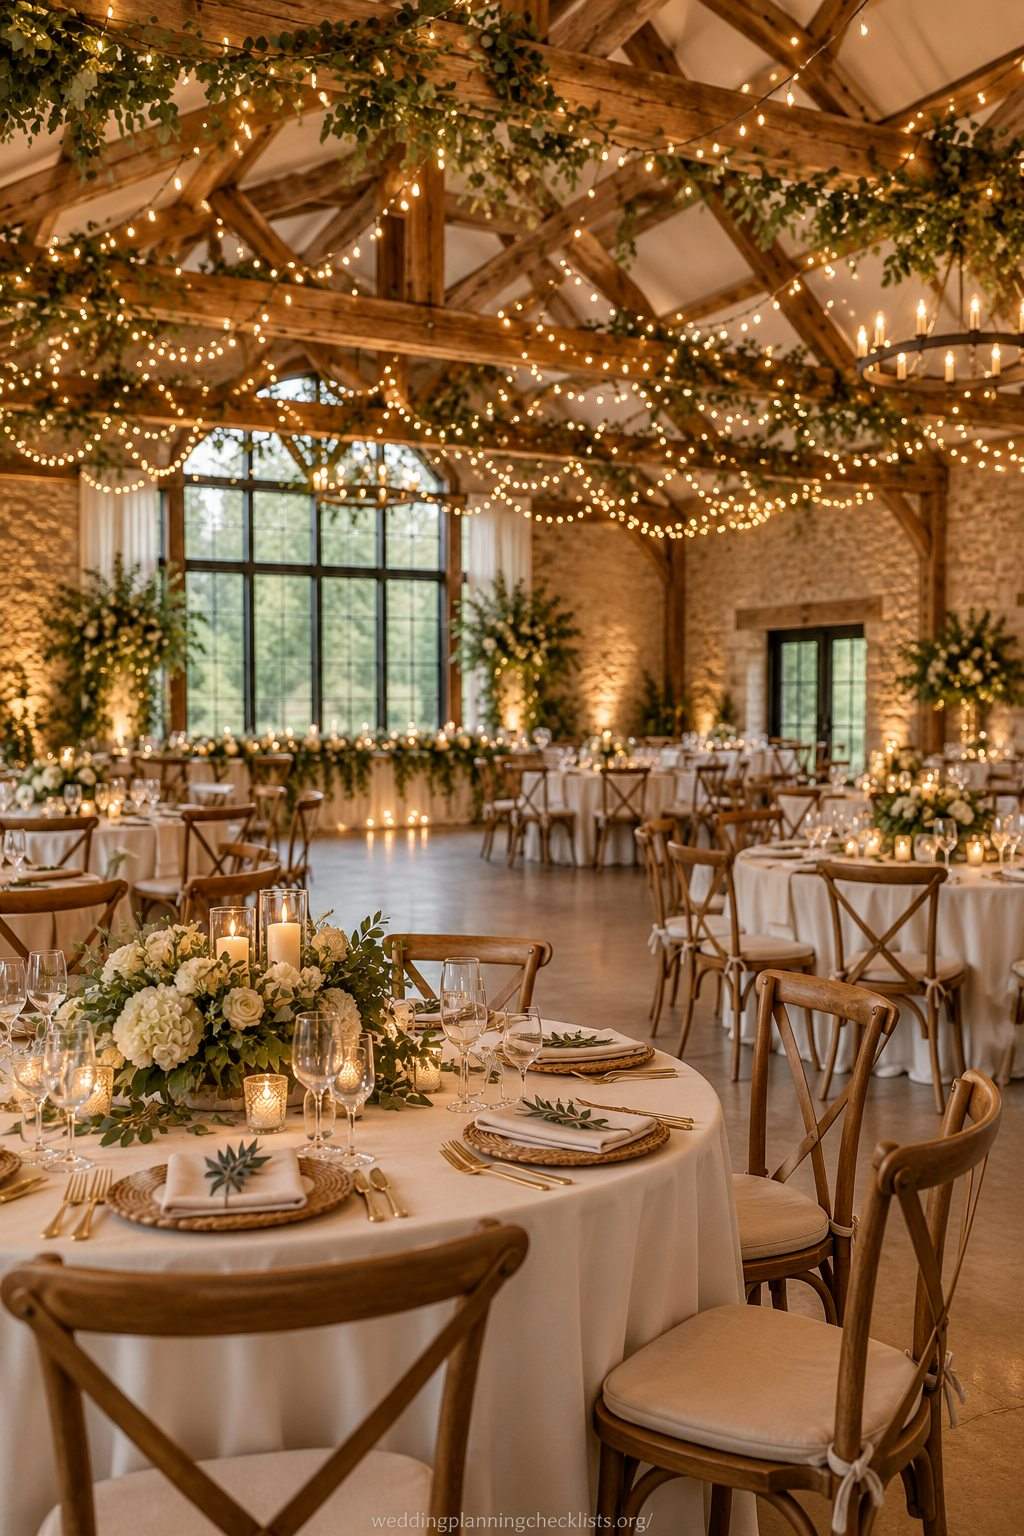 Photograph the reception room after setup but before guests arrive, including the ceiling or walls where the lights are installed. This documents the full design and allows viewers to see how lighting works with tables and greenery. Confirm the setup is finished before scheduling the image. Keep the moment brief if the weather feels cold.
13. A table setting with warm light
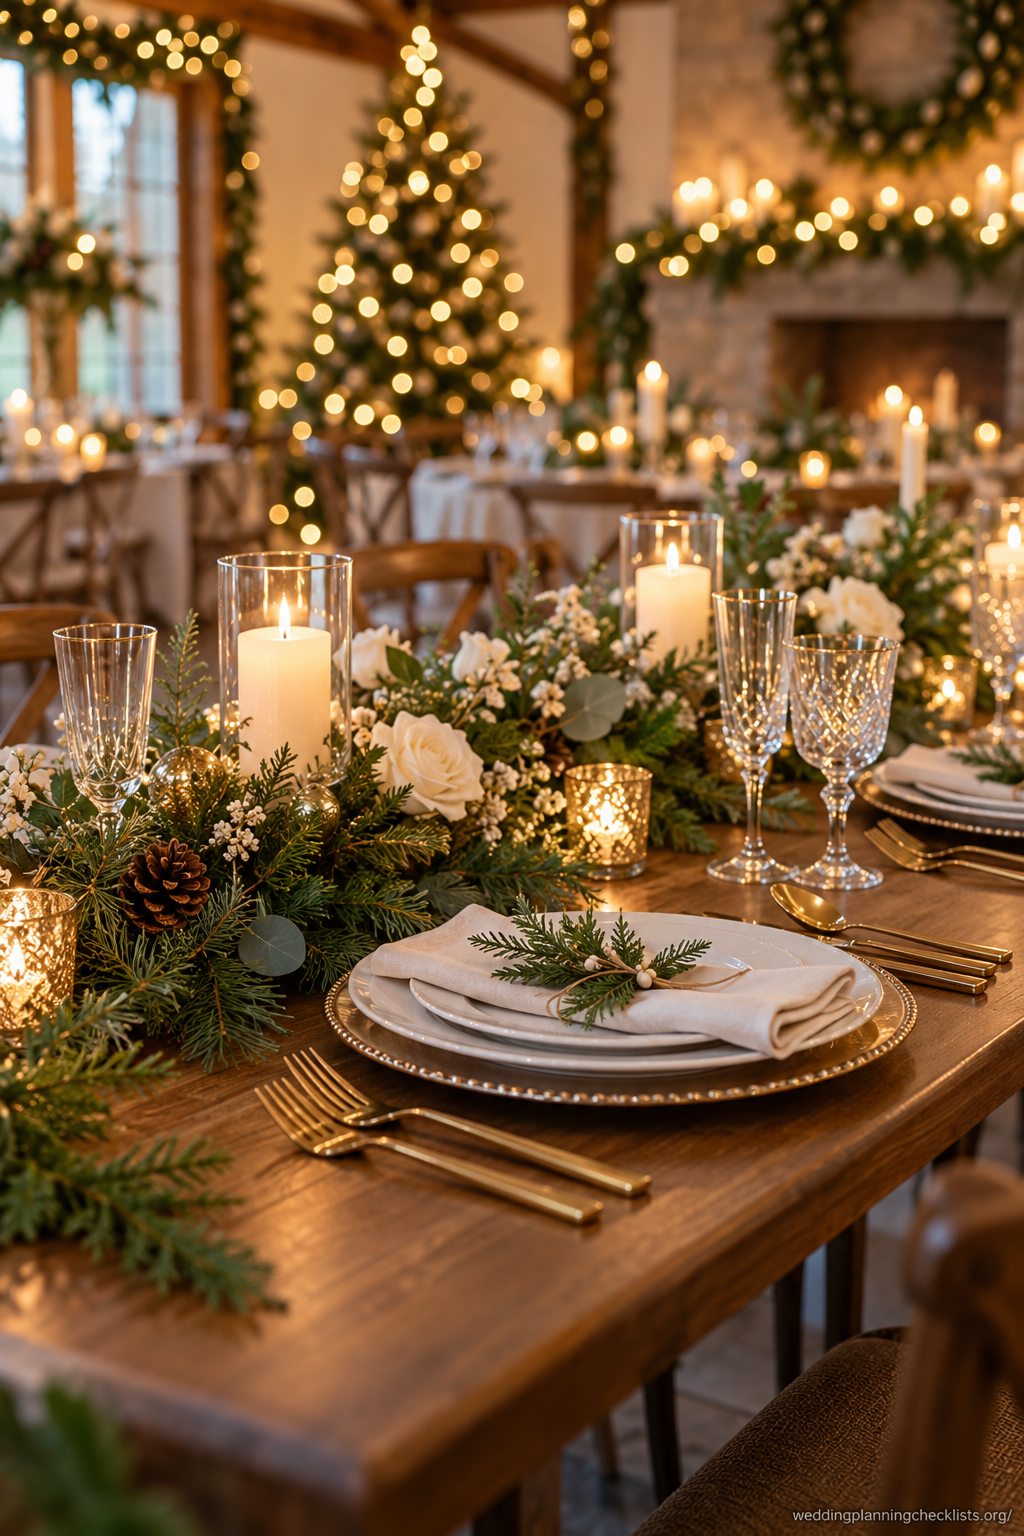 Capture one table setting with fairy lights softly visible in the background. Include the menu, glassware, and greenery only if the arrangement is approved and ready. Avoid moving candles or electrical decor, and take the photograph before guests begin using the table. Keep the pose easy and comfortable to hold.
14. A reflection in a window
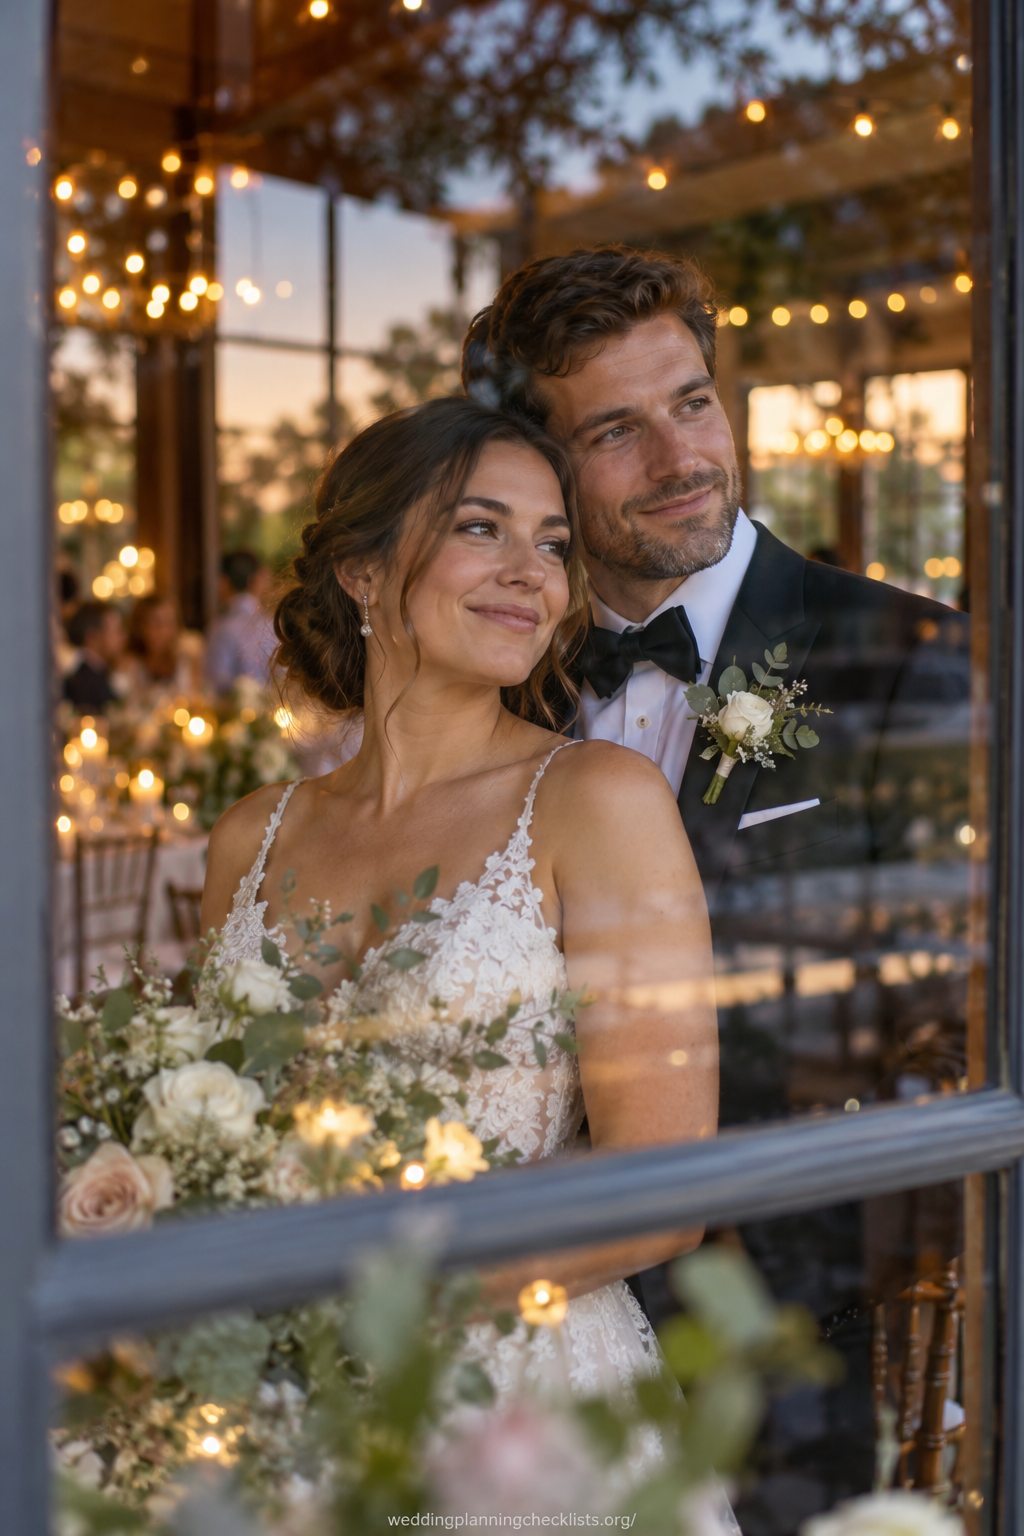 Use a window reflection to show the lights and couple in the same frame, if the glass is clean and the photographer can find a clear angle. Keep faces visible and avoid reflections of private areas or guests who did not agree to be photographed. Ask for one wider frame to include the setting.
15. A final portrait at the entrance
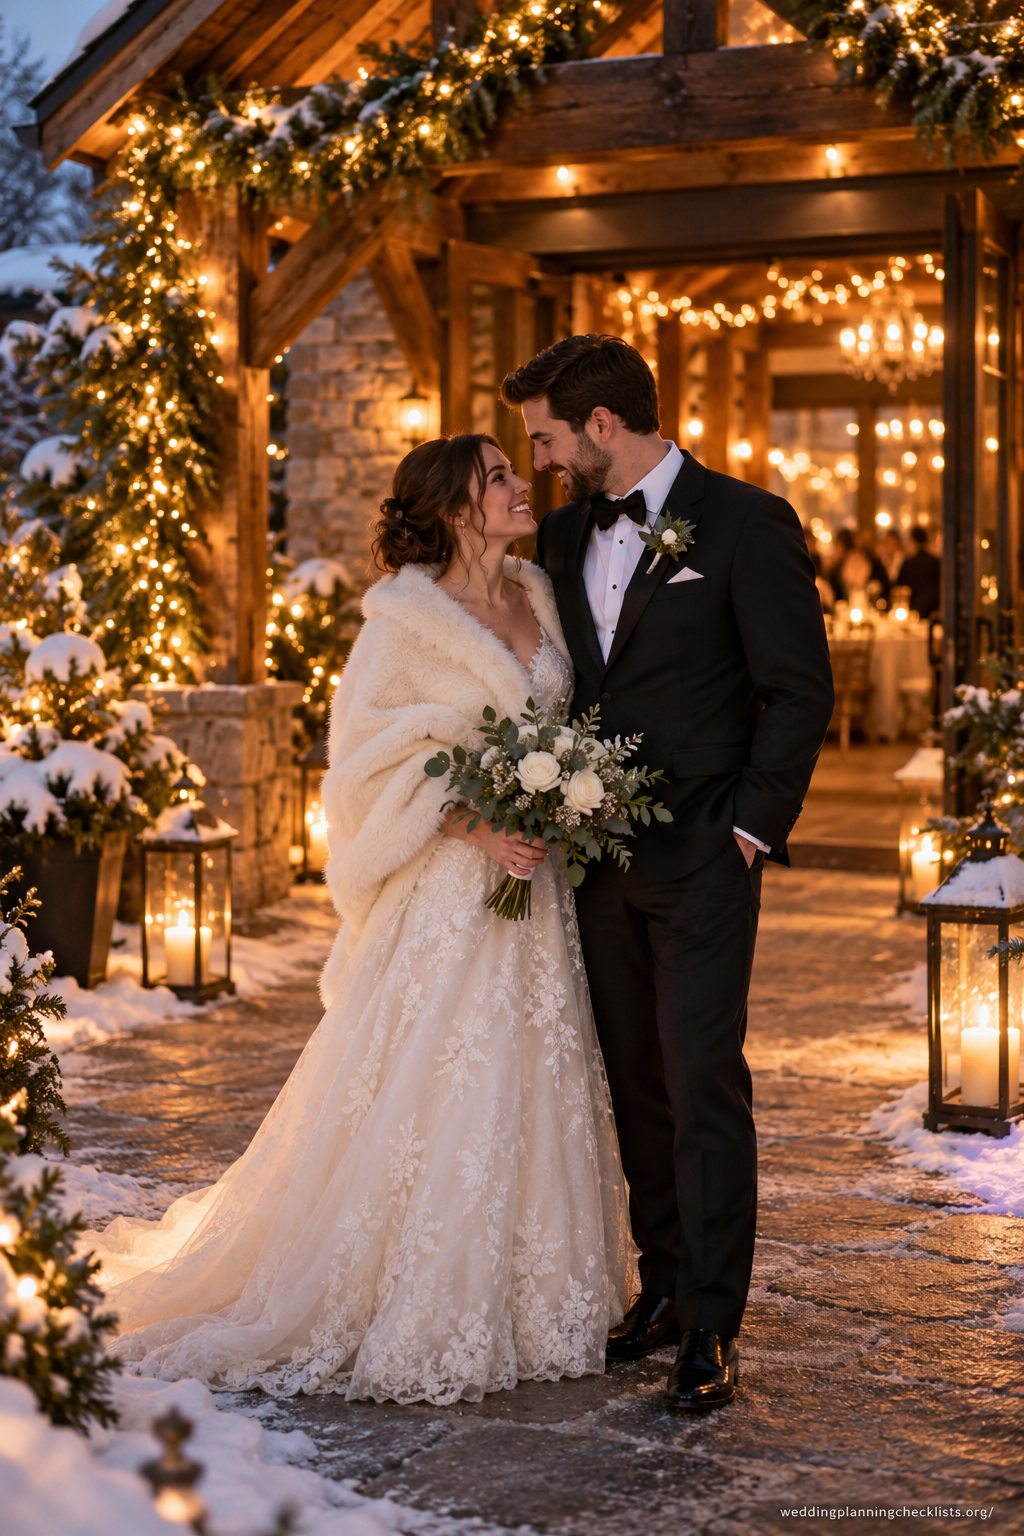 End with a short portrait near the venue entrance once the lights are on. Stand on stable ground and keep a warm layer nearby for the walk. Confirm that the entrance remains accessible and that the photo will not delay the couple’s departure or guest transport. Let the photographer capture the moment just afterward.
Keep lighting safe and flattering
Have the venue or lighting team install and secure all strands. Keep cords away from walking routes, confirm fixtures suit the location, and follow fire-safety rules. Do not ask guests to handle hot bulbs, candles, or electrical strands. For more seasonal setup guidance, see the Christmas wedding checklist.
For more portrait guidance, see our wedding photography poses for beginners. To keep seasonal photo decisions connected to your wider plan, use the 12-month wedding planning checklist.